为博客添加 CloudFlare 图床并在 Typora 中自动替换链接
博客搭好后,我都是在 GitHub Desktop 里编辑 markdown 文件。但我不喜欢 GitHub Desktop,于是今天想来试试用 Typora 写博客。
其实我一直有 Ulysses 的订阅,但每次用它的体验并不好,盛名之下其实难副。最不喜欢的是它的 markdown 渲染乱七八糟的,纯文字的写作可能还能忍受,但代码的显示就太丑了。当然人家的目标用户本就是纯文字工作者,也不是为咱们程序员设计的,也不用太吐槽它。
第一版方案
一开始的想法是跟着 Typora 的设置走,Typora 提供了设置图片上传的地方,可以通过 PicGo 这类的应用,实现当图片被粘贴到 Typora 里,自动上传到图床并获取公开链接,并自动替换掉 markdown 文件里的链接。
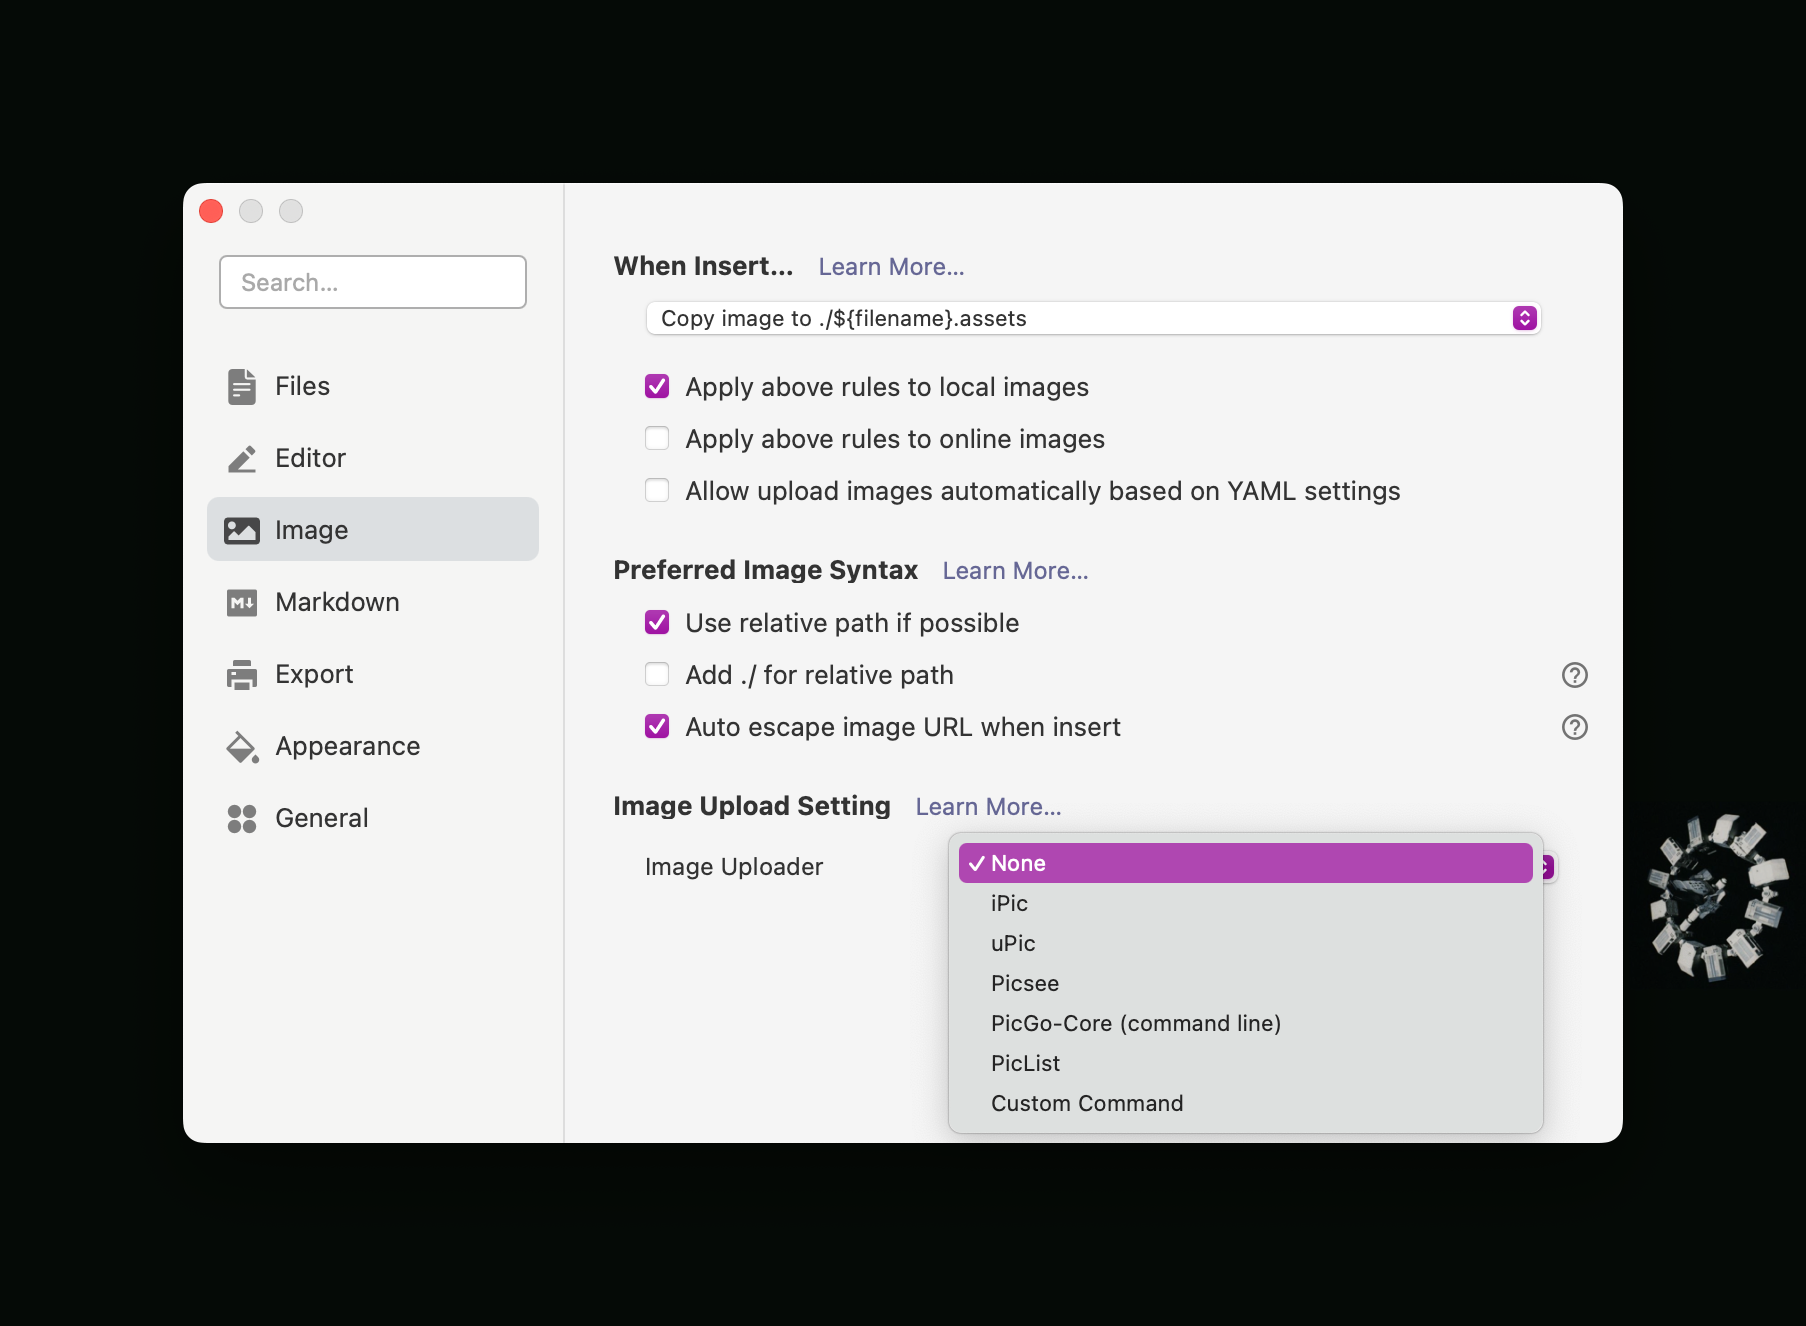
看了眼这些支持的用来上传图片的应用,PicGo 比较眼熟,以前在别的地方用过,而且那时候还弄好了 CloudFlare 的 R2 bucket 做图床,那就用它了。
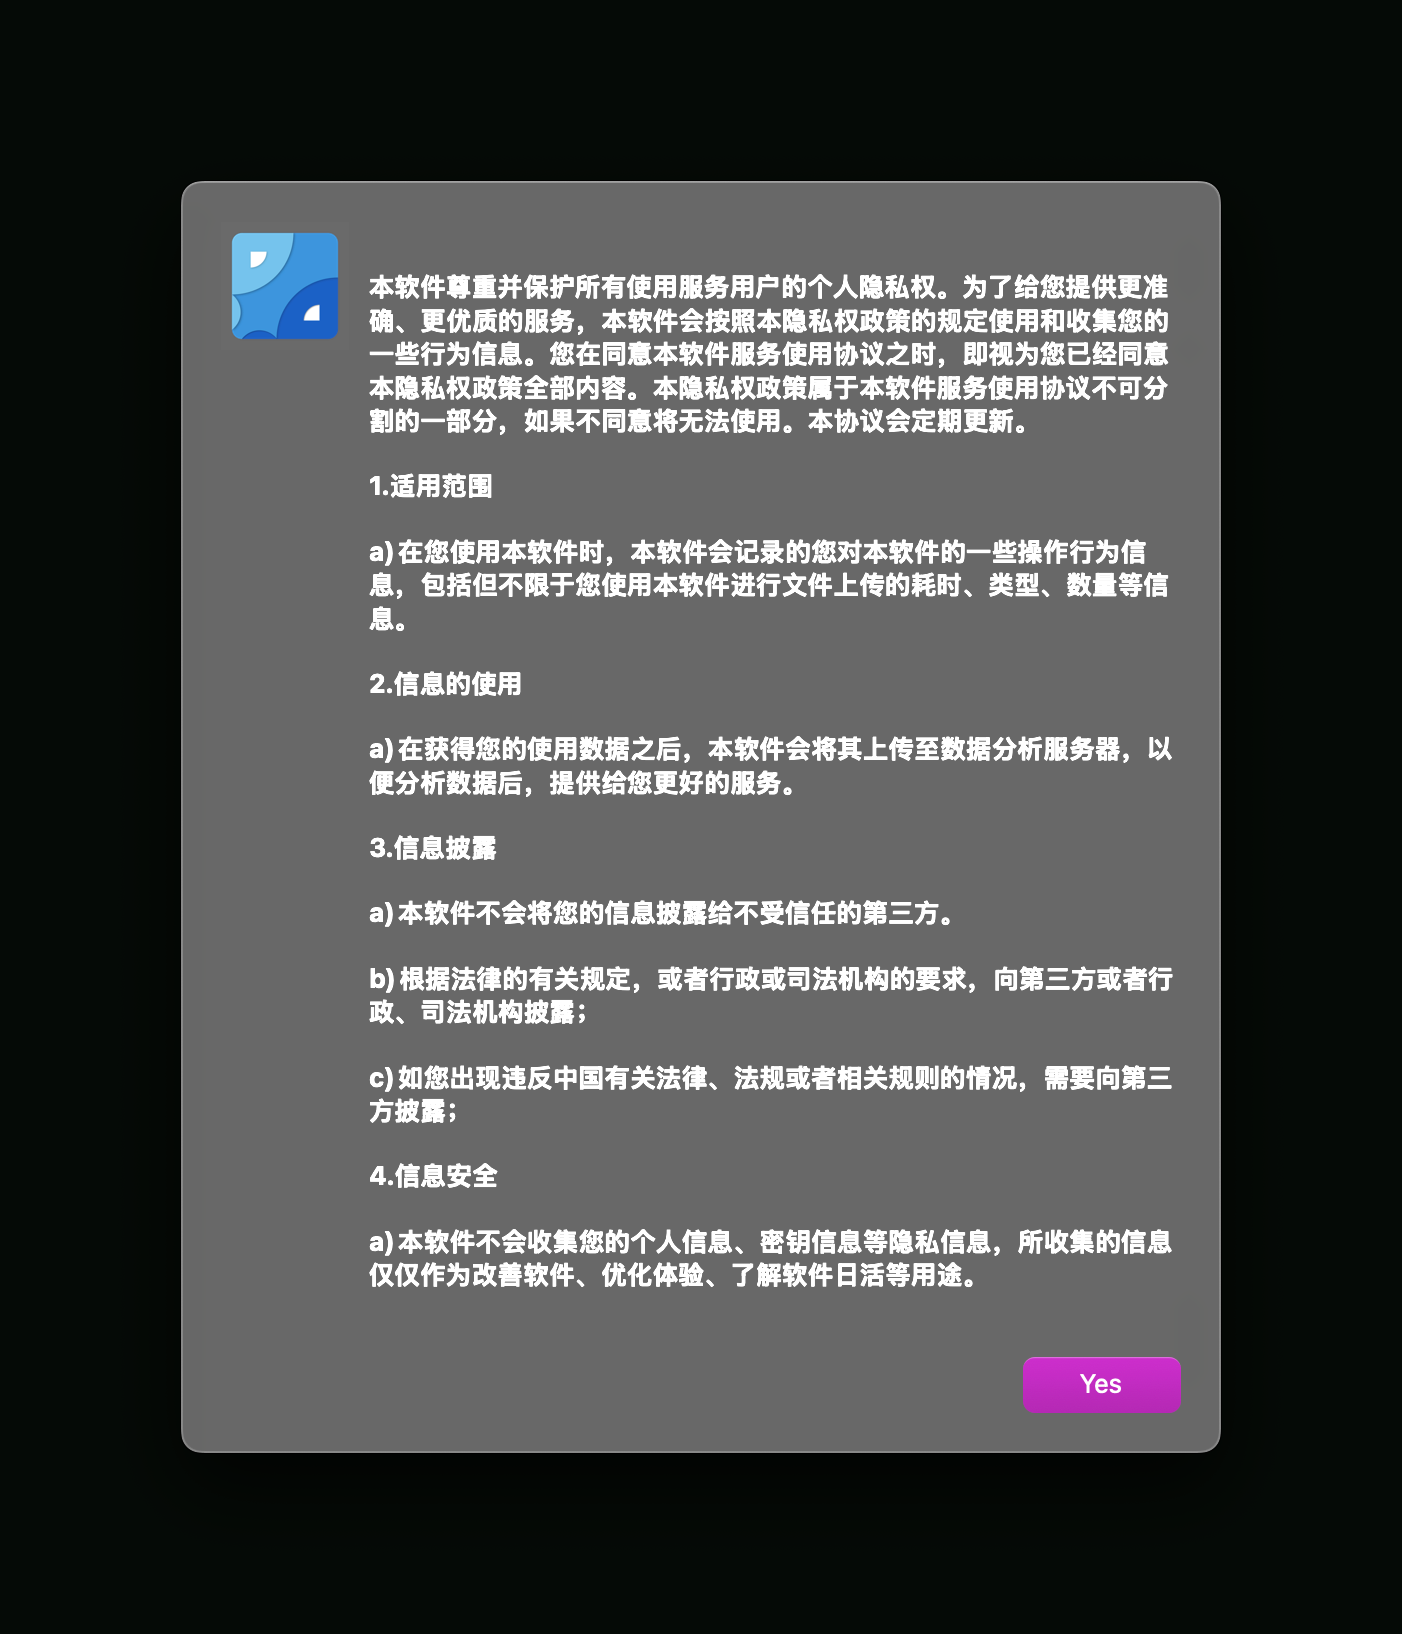
但弄了好久,不管怎么设置都不对。我打开 Claude,跟它把场景和需求都描述清楚,正要请它帮忙 debug 的时候,我看到 PicGo 的隐私协议,瞬间就不想弄它了,收集上传我的数据,还向第三方披露,“包括但不限于”,真敢说啊。我赶紧卸载掉。
第二版方案
然后我就问 Claude,我不愿意弄 PicGo 了,咱们试试别的法子吧。它给了我4个想法,我看最后一个:
### Alternative 4: GitHub-based solution

1. Create a Git repository for your markdown files and images
2. Set up GitHub Actions to automatically process images and upload to R2
3. Use GitHub Pages with your custom domain
就它了,反正我的博客就在一个 GitHub Repo 里,而且我已经在用 Actions 来发布了,正好就着现在基础改。
但想了想,我跟它说,要改一下,我不想把图片发到 Repo 里,我想让这个博客保持轻量。然后 Claude 跟我讲了一个我从没接触到的领域:可以写脚本让 Git 在 每次 commit 之前执行一些任务。
这样流程就变成了:
- 文章里的图片直接粘贴到 markdown 文件里。
- Typora 对该文章创建一个 asset 子目录,图片暂存在那个子目录里。
- Git Commit 的时候,一个叫 pre-commit 的脚本先执行,给图片打上水印,上传给 CloudFlare,拿到公开 url,自动替换掉 markdown 里的链接。本地的图片是加到了 .gitignore 里的,不会 push 到 GitHub。
- Git push,触发 Github Actions,文章发布成功。
几张测试图片
带着猫刚登陆温哥华的那天:

pre-commit 脚本顺便加了水印,左下角是版权声明,右下角是个透明背景的字。加这俩水印的时候自动加了个白色的边框,还挺好看,算是意外之喜。
拉开猫包拉链,胸背带都还没解开,就要往前冲,搜遍每个房间。

刚到新生活的第一个小时,猫和我都还觉得很新鲜

很快温哥华就进入了漫长的雨季,每天都看不到什么阳光,很容易抑郁。但偶尔会看到超美的彩虹啊。

Claude 总结的流程
# Complete Typora-CloudFlare Image Workflow Guide
This document provides comprehensive instructions for setting up and using your new image workflow, which automatically processes images pasted in Typora, uploads them to CloudFlare R2, and updates your Markdown files with the correct URLs.
## Table of Contents
1. [System Overview](#system-overview)
2. [Initial Setup](#initial-setup)
3. [Using the Workflow with Typora](#using-the-workflow-with-typora)
4. [Watermark Commands Reference](#watermark-commands-reference)
5. [Integration with Existing Workflows](#integration-with-existing-workflows)
6. [Troubleshooting](#troubleshooting)
## System Overview
This workflow solves several problems in one unified process:
1. **Images are processed locally** before commit - no images stored in your Git repository
2. **Automatic uploading** to CloudFlare R2 with proper file organization
3. **Flexible watermarking** with character image and/or copyright text
4. **URL replacement** in Markdown files with your custom domain
5. **Seamless integration** with your existing Hugo blog workflows
### Workflow Diagram
```
┌─────────────┐ ┌─────────────┐ ┌────────────────┐
│ Paste image │ ──► │ Edit in │ ──► │ Commit changes │
│ in Typora │ │ Markdown │ │ (pre-commit │
└─────────────┘ └─────────────┘ │ hook activates)│
└────────┬───────┘
│
┌─────────────┐ ┌─────────────┐ ┌────────▼───────┐
│ GitHub │ ◄── │ Push to │ ◄── │ Images uploaded│
│ publishes │ │ GitHub │ │ URLs updated │
│ your blog │ │ │ └────────────────┘
└─────────────┘ └─────────────┘
```
## Initial Setup
### 1. Set Up Directory Structure
First, create the necessary directories:
```bash
cd your-repository-path
mkdir -p .git/hooks
mkdir -p .watermarks
```
### 2. Add the Character Watermark
Place your character watermark image in the `.watermarks` directory:
```bash
# Copy your watermark image to the .watermarks directory
cp path/to/shuangZhuanCharacter.png .watermarks/
```
### 3. Create the Pre-commit Hook
Create a new file at `.git/hooks/pre-commit`:
```bash
touch .git/hooks/pre-commit
chmod +x .git/hooks/pre-commit
```
Copy the pre-commit hook script content into this file (the full script provided earlier).
### 4. Configure CloudFlare R2 Credentials
Update the configuration section in the pre-commit script with your R2 credentials:
```python
# Configuration - update these values
R2_ACCESS_KEY_ID = "your_access_key_id"
R2_SECRET_ACCESS_KEY = "your_secret_access_key"
R2_ENDPOINT = "https://c76863eb8201c5ddbec3d3bbfe20e484.r2.cloudflarestorage.com"
R2_BUCKET = "imagehost"
CUSTOM_DOMAIN = "img.shuang.blog"
```
### 5. Update .gitignore
Add the following to your `.gitignore` file to exclude images from your repository:
```
# Ignore image files in content directories
content/**/*.png
content/**/*.jpg
content/**/*.jpeg
content/**/*.gif
content/**/*.webp
content/**/*.svg
content/**/*.bmp
content/**/*.tiff
content/**/*.ico
```
### 6. Install Required Python Packages
```bash
pip install boto3 pillow
```
## Using the Workflow with Typora
### Basic Usage
1. **Open your repository in Typora**:
```bash
cd your-repository-path
typora content/posts/your-post.md
```
2. **Paste images directly into Typora**:
- Use `Ctrl+V` (or `Cmd+V` on Mac) to paste images
- Typora will save the image locally in the same directory as your Markdown file
3. **Add watermarks (optional)**:
- Add the appropriate watermark command to your image reference
- See [Watermark Commands Reference](#watermark-commands-reference)
4. **Save your Markdown file**:
- Save with `Ctrl+S` (or `Cmd+S` on Mac)
5. **Commit your changes**:
```bash
git add content/posts/your-post.md
git commit -m "Added new post with images"
```
- The pre-commit hook will automatically:
- Detect images in your Markdown files
- Apply watermarks as specified
- Upload images to CloudFlare R2
- Update image URLs in your Markdown files
6. **Push to GitHub**:
```bash
git push
```
- Your existing GitHub Actions will deploy your Hugo site
### Typora Settings
For optimal usage with Typora, configure these settings:
1. Open Typora Preferences
2. Go to the Image tab
3. Set "When Insert Image" to "Copy image to ./${filename}.assets"
4. Check "Apply above rules to local images" and "Apply above rules to online images"
This ensures that images are saved in a predictable location relative to your Markdown file.
## Watermark Commands Reference
### Markdown Syntax
| Command | Description | Position |
|---------|-------------|----------|
| `#wm:char` | Character symbol only | Bottom right |
| `#wm:cr` | Copyright text only | Bottom left |
| `#wm:both` | Both watermarks together | Character (right) + Copyright (left) |
#### Examples:
```markdown


```
### HTML Syntax
| Attribute | Description | Position |
|-----------|-------------|----------|
| `data-wm="char"` | Character symbol only | Bottom right |
| `data-wm="cr"` | Copyright text only | Bottom left |
| `data-wm="both"` | Both watermarks together | Character (right) + Copyright (left) |
#### Examples:
```html
<img src="image.jpg" data-wm="char" alt="My image">
<img src="image.jpg" data-wm="cr" alt="Protected image">
<img src="image.jpg" data-wm="both" alt="Fully protected">
```
### When to Use Each Watermark Type
| Content Type | Recommended Watermark | Rationale |
|--------------|----------------------|-----------|
| Personal photos | `#wm:char` | Subtle branding without legal text |
| Professional work | `#wm:cr` | Clear copyright protection |
| Important images | `#wm:both` | Maximum protection with branding |
| Screenshots | None | Usually don't need watermarking |
## Integration with Existing Workflows
This solution integrates seamlessly with your existing GitHub Actions workflows:
### 1. `telegram-processor.yml`
- This workflow processes Telegram messages and updates your blog
- No changes needed - works independently of the image processing
### 2. `cloudflare-pages.yml`
- This workflow deploys your Hugo site to Cloudflare Pages
- Automatically runs after you push changes
- Includes the updated Markdown files with correct image URLs
### Workflow Sequence:
1. Pre-commit hook processes images locally
2. You push changes to GitHub
3. Your existing GitHub Actions deploy the blog
4. Images are served from CloudFlare R2 with your custom domain
## Troubleshooting
### Common Issues
#### Images not uploading to R2
- Check your R2 credentials
- Verify you have the required Python packages installed
- Ensure the pre-commit hook is executable
#### Watermarks not appearing
- Verify the watermark image path is correct
- Check that the watermark command syntax is correct
- Ensure the Pillow package is installed
#### Pre-commit hook not running
- Ensure the hook is executable: `chmod +x .git/hooks/pre-commit`
- Verify the hook path is correct: `.git/hooks/pre-commit`
#### URLs not updating correctly
- Check that the custom domain setting is correct
- Verify that the R2 bucket is properly configured
### Testing the Pre-commit Hook
You can test the pre-commit hook manually:
```bash
# From your repository root
.git/hooks/pre-commit
```
This will process any staged Markdown files with images.
### Debugging Tips
Add debugging statements to the pre-commit hook:
```python
print(f"Processing file: {markdown_file}")
print(f"Found images: {images}")
print(f"Image data: {image_data[:100]}...") # Print first 100 bytes
```
This helps identify where issues might be occurring.